Easy Balloon Turkey Centerpiece Your Kids Will Love!
/
These turkey balloons are an easy make-ahead centerpiece for your Thanksgiving table...kids or no kids! It's simple to put together once you've gathered the supplies so you can make a few for the mantle, the kid's table etc...
supplies:
- coffee filters (for tail and wings, optional...alternatively you can use tissue, crepe or construction paper )
- yellow and red food coloring or orange craft paint (optional, to dye coffee filters if you are using them)
- scissors
- 1 orange and 2 red water balloons
- balloon hand pump (optional, but makes life easier!)
- Glue Dots or double-stick tape
- black permanent marker
- small dot stickers (optional, for eyes)
- small piece of yellow cardstock or construction paper for the beak
- 1 orange medium balloon
- 1 yellow twisty balloon (optional, for base)

Coffee filter dyeing how to (optional!): if you'd like to use coffee filters to make the tail and wings, you should dye them the day before you plan to make the turkey so they have time to dry. Fill a shallow bowl or pie plate with water and squirt in a few drops of yellow and red food coloring, or a few squirts of craft paint. Mix. Place a thin stack of at least 5 or so coffee filters (no need to count, you'll just want to dye a stack at a time to help hold its shape once it gets wet). Let the dye creep up or flip it over if needed, holding the sides up it doesn't flatten out. Set on a tray lined with scrap paper or newspaper to dry overnight. Reshape the stack of coffee filters, if needed, to encourage them to dry in their ruffly state rather than flattening out.

Head: inflate the orange water balloon and tie off. The knot end will be the nose. Trim off the knot's rubber ring with scissors if you'd like.
Eyes: color adhesive dots black with the marker and stick to sides of the head balloon (or use the marker to draw on eyes).
Comb: Cut the ring off one of the red water balloons and adhere it to the top of the head with a Glue Dot.
Wattle: Adhere a water balloon below the head with a Glue Dot.
Beak: Cut the yellow cardstock into a diamond/kite shape and fold it in half. Fold two flaps back on one end (as shown) and adhere to those flaps to the head by putting Glue Dots behind them. The beak should cover the knot.

Wings: Cut two rounded trapezoid-shaped wings off of the ruffled edge of a dyed coffee filter (or cut out of tissue or construction paper and fold to pleat).
Tail: Cut three coffee filter halves (you can cut so all three are slightly different sizes, as shown) or cut and pleat three tissue or construction paper semi-circles. Adhere the three pieces together with Glue Dots, staggering the layers as shown.
Body: Inflate the medium-sized balloon and tie it off. Adhere head, wings, and tail into place using glue dots.

Balloon base (optional): inflate a twisty balloon and allow some air to come out until it is the right length to create a circle that your turkey can sit in. (Curve it around and hold into place to test the circle size). Tie off the open end and pull a little balloon from the other end to tie the two ends together. Cut off the excess balloon.
Alternative base: adhere the bottom of the turkey with Glue Dots to a small plate, paper plate, cardboard scrap or any small surface to stabilize it.
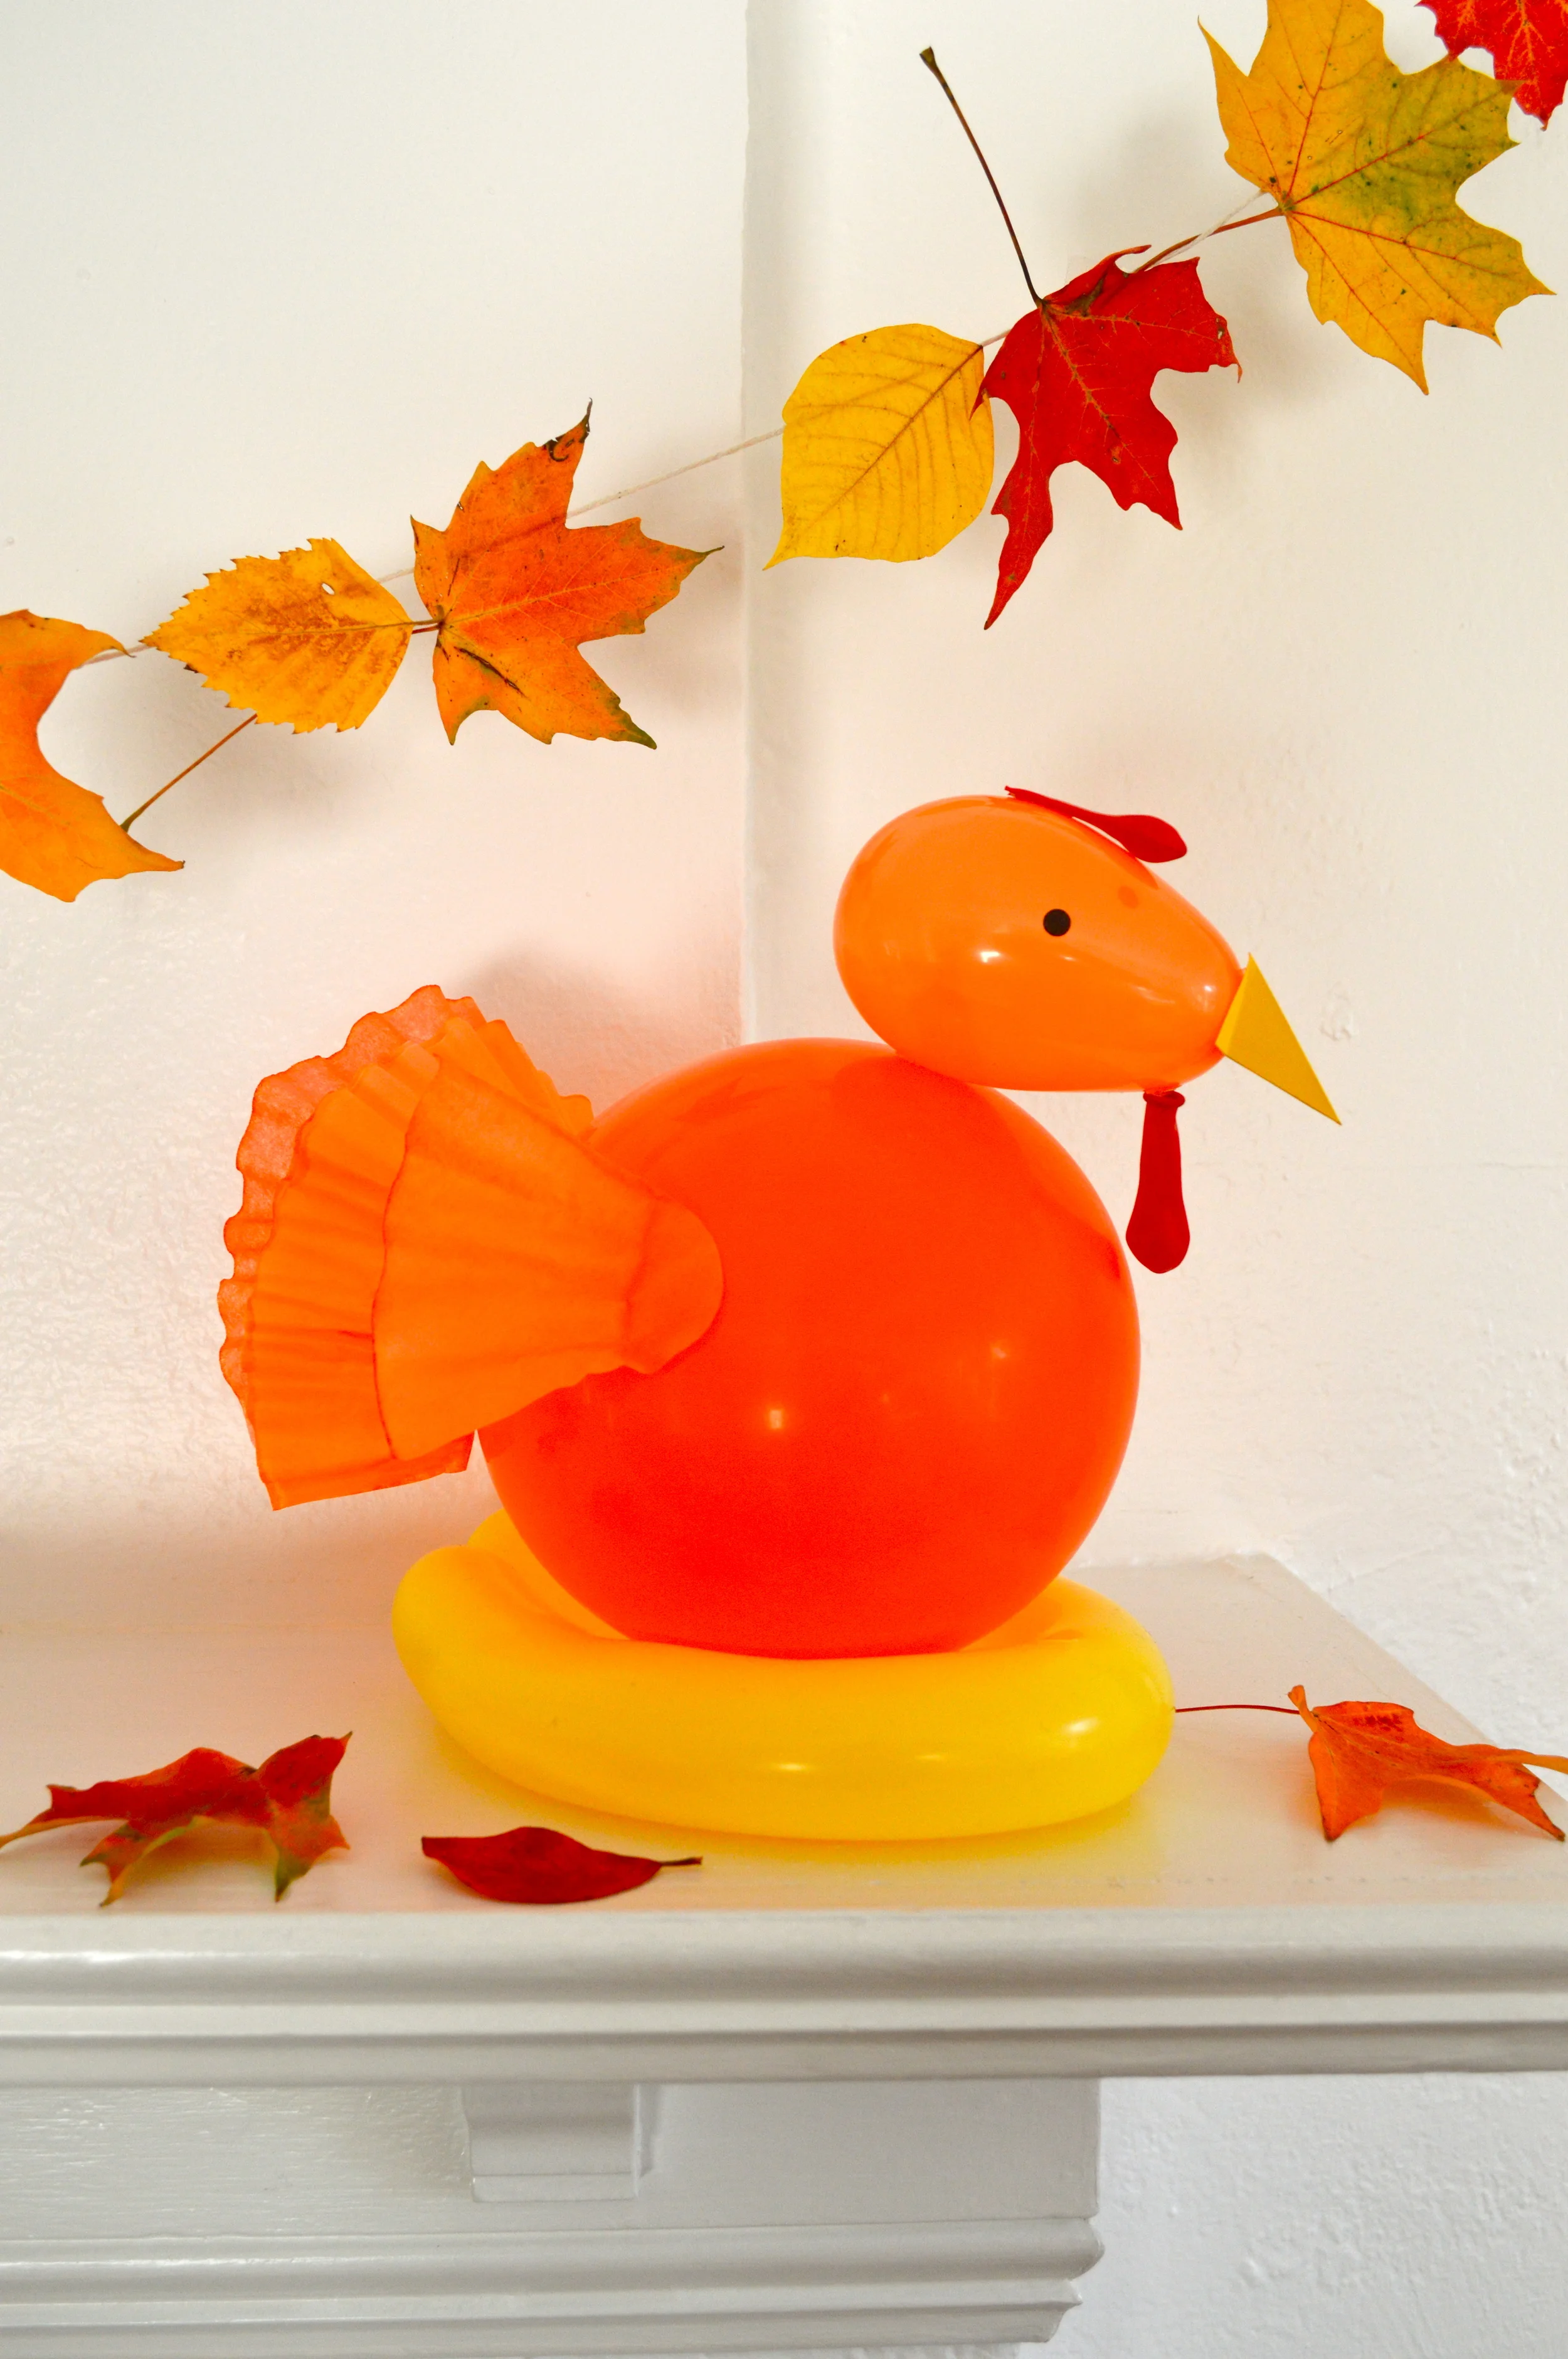
Surround your turkey with fall leaves or fruit...or whatever you'd like!
If you like crafting with balloons, check out the chapter of balloon projects in our book Paper Goods Projects!
Happy Thanksgiving!!