Weekend Project: Easy Coffee Filter Flower Straws
/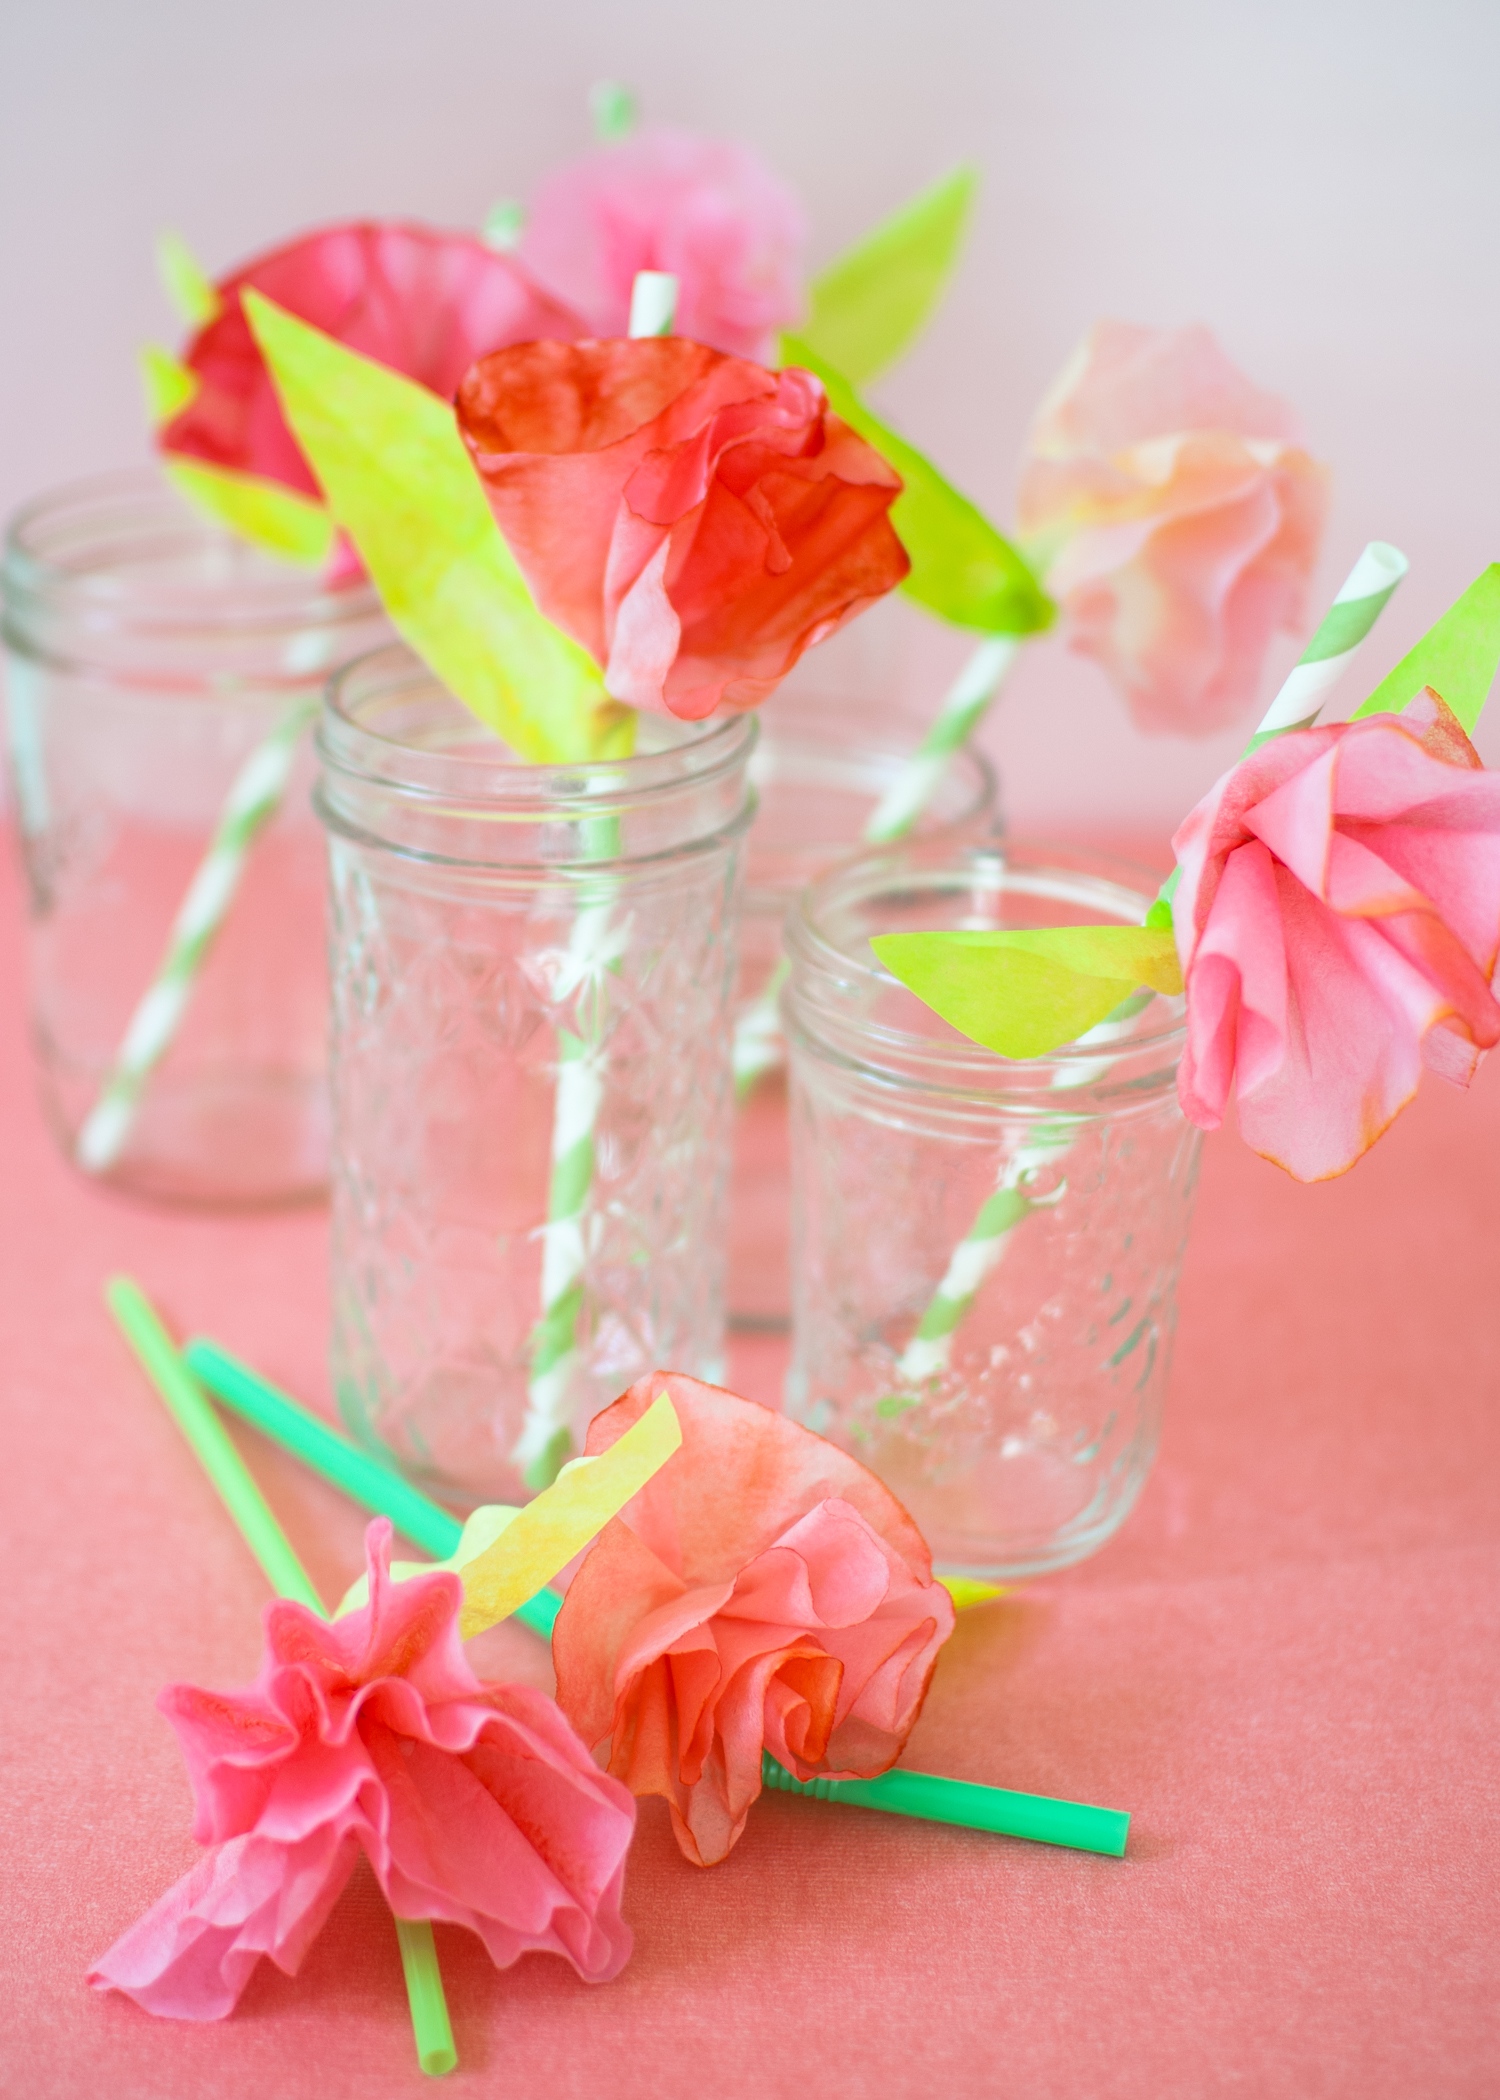
I'm not ready to give up on summer! It will be lemonade and iced tea weather for quite a few more weeks so I'm sharing a fun way to dress up straws for all your alfresco entertaining (or for any occasion, like a baby or bridal shower!) from our new book Paper Goods Projects.
I have made a lot of paper flowers in my life and the are THE EASIEST...and fastest!! They take only a few second to make each once the filters are dyed and dried. The bigger step here is dyeing the coffee filters which also really easy (and fun!) but allow a few hours to let the filters dry. Dye as many as you can and use them for lots of flower projects! (We have a whole chapter of coffee filter projects in our book!)
By the way, I used food coloring to dye these flowers since they will be coming into contact with drinks. If you're not using these near food or drink, you could use thinned out craft paint to dye them instead.

SUPPLIES
- coffee filters
- food coloring (floral colors like red or pink and green for leaves. I love this McCormick neon set)
- small baking dish or pie pan
- a few sheets of newspaper on a cookie sheet or flattened cardboard box (to protect your work surface)
- scissors
- hot glue
- straws
1. Dye the coffee filters: prepare a dye bath by filling the dish with about an inch of water. Squeeze a few drops of food coloring in and mix well. Dying a stack together will help retain the filter's ruffly-ness. Dip a small stack of coffee filters (about 10-15) into the dye bath. You can fully dye them, or dye the bottom and leave the ruffly edges white or the ruffly edges and leave the flat bottom white. (see above). Leave in for a few seconds, until the dye has spread to your desired effect and remove quickly (so the moisture doesn't flatten the filters). Dye some in floral colors and a few green for leaves.
2. Put the dyed stack on the newspaper-lined tray or flattened box to dry, making sure to re-shape the stack of filters to encourage ruffly-ness, if needed. Place in a sunny area and allow to dry for a few hours.

3. As I've said, these flowers couldn't be easier! Simply twist them at the bottom. Here is a detailed description of how to do it: first make a circle with your index finger and thumb. With your other hand, take a coffee filter and poke another finger into the center of the filter, pushing it down through the circle of your fingers. Grab the bottom of the filter and pul it down through the circle. Twist the now-pointed bottom of the filter, leaving the top open and flowery.
4. Make leaves: cut along the edge of a stack of green filters in an arc shape to get some long almond-shaped leaves. Fold leaves in half (folding against the ruffles).

5. Snip off some of the flower's twisty bottom, leaving 1/2" or so as a stub. Squeeze some nontoxic hot glue onto the flower and the stub, and press the flower against the straw, leaving at least an inch at the top for sipping.
6. Squeeze a little bit of glue onto the pointy end of a leaf and wrap the leaf around the flower bottom to cover it.
Check out our book, Paper Goods Projects, and the Coffee Filter and Cupcake Paper chapter for lots more flower ideas! Have a great weekend!