Easy-to-Make Cupcake Paper Dollhouse Furniture
/
At this point in the summer, we’re often looking for activities to entertain our kids, especially if we're presented with a rainy day. Making homemade dollhouse furniture is just the kind of project I would have LOVED as a kid! I was miniature-obsessed and always making tiny spool tables, matchbox beds, etc for my little dolls. These cupcake paper dollhouse accessories are from our book, Paper Goods Projects . (Scroll down for some bonus ideas in the photo below, not found in our book)!
SUPPLIES
- standard or mini cupcake papers in various colors
- adhesive dots or double-sided tape
- white glue
- scissors
optional:
- toothpick and construction paper (for curtains)
- wooden peg peoples (available at craft stores) or small dolls or animal figures
- round wooden clothespin (for lamp)
- inner box of a small matchbox (for crib)
- small colored paper napkin (for crib mattress and blanket)
- paper doily (for tiny doilies)
- baker’s twine and needle (for - hanging lamp)
- licorice allsorts (for mini "cake")
1. Lampshade: Attach a mini cupcake paper to the top of the top of the clothespin with an adhesive dot or small piece of double-sided tape.
2. Chair: The base is a stack of 2 upside-down mini cupcake papers. To make the chair back, cut out a semi-circle piece from the ruffled edge of a mini cupcake paper, leaving it attached to the flat round cupcake bottom. Brush white glue on the top of the chair base and adhere the flat bottom of the chair back piece to it.
3. Crib: Cut out the center of 2 regular cupcake papers so you are left with 2 ruffled strips. Press a few adhesive dots or some double-sided taper around the outside edge of the matchbox and wrap and adhere the bottom of the ribbed cupcake paper to it. Patch on an additional piece of cupcake paper as needed to cover and encircle the box. Cut out a little rectangle from the paper napkin for the crib mattress and a smaller piece for a crib blanket.
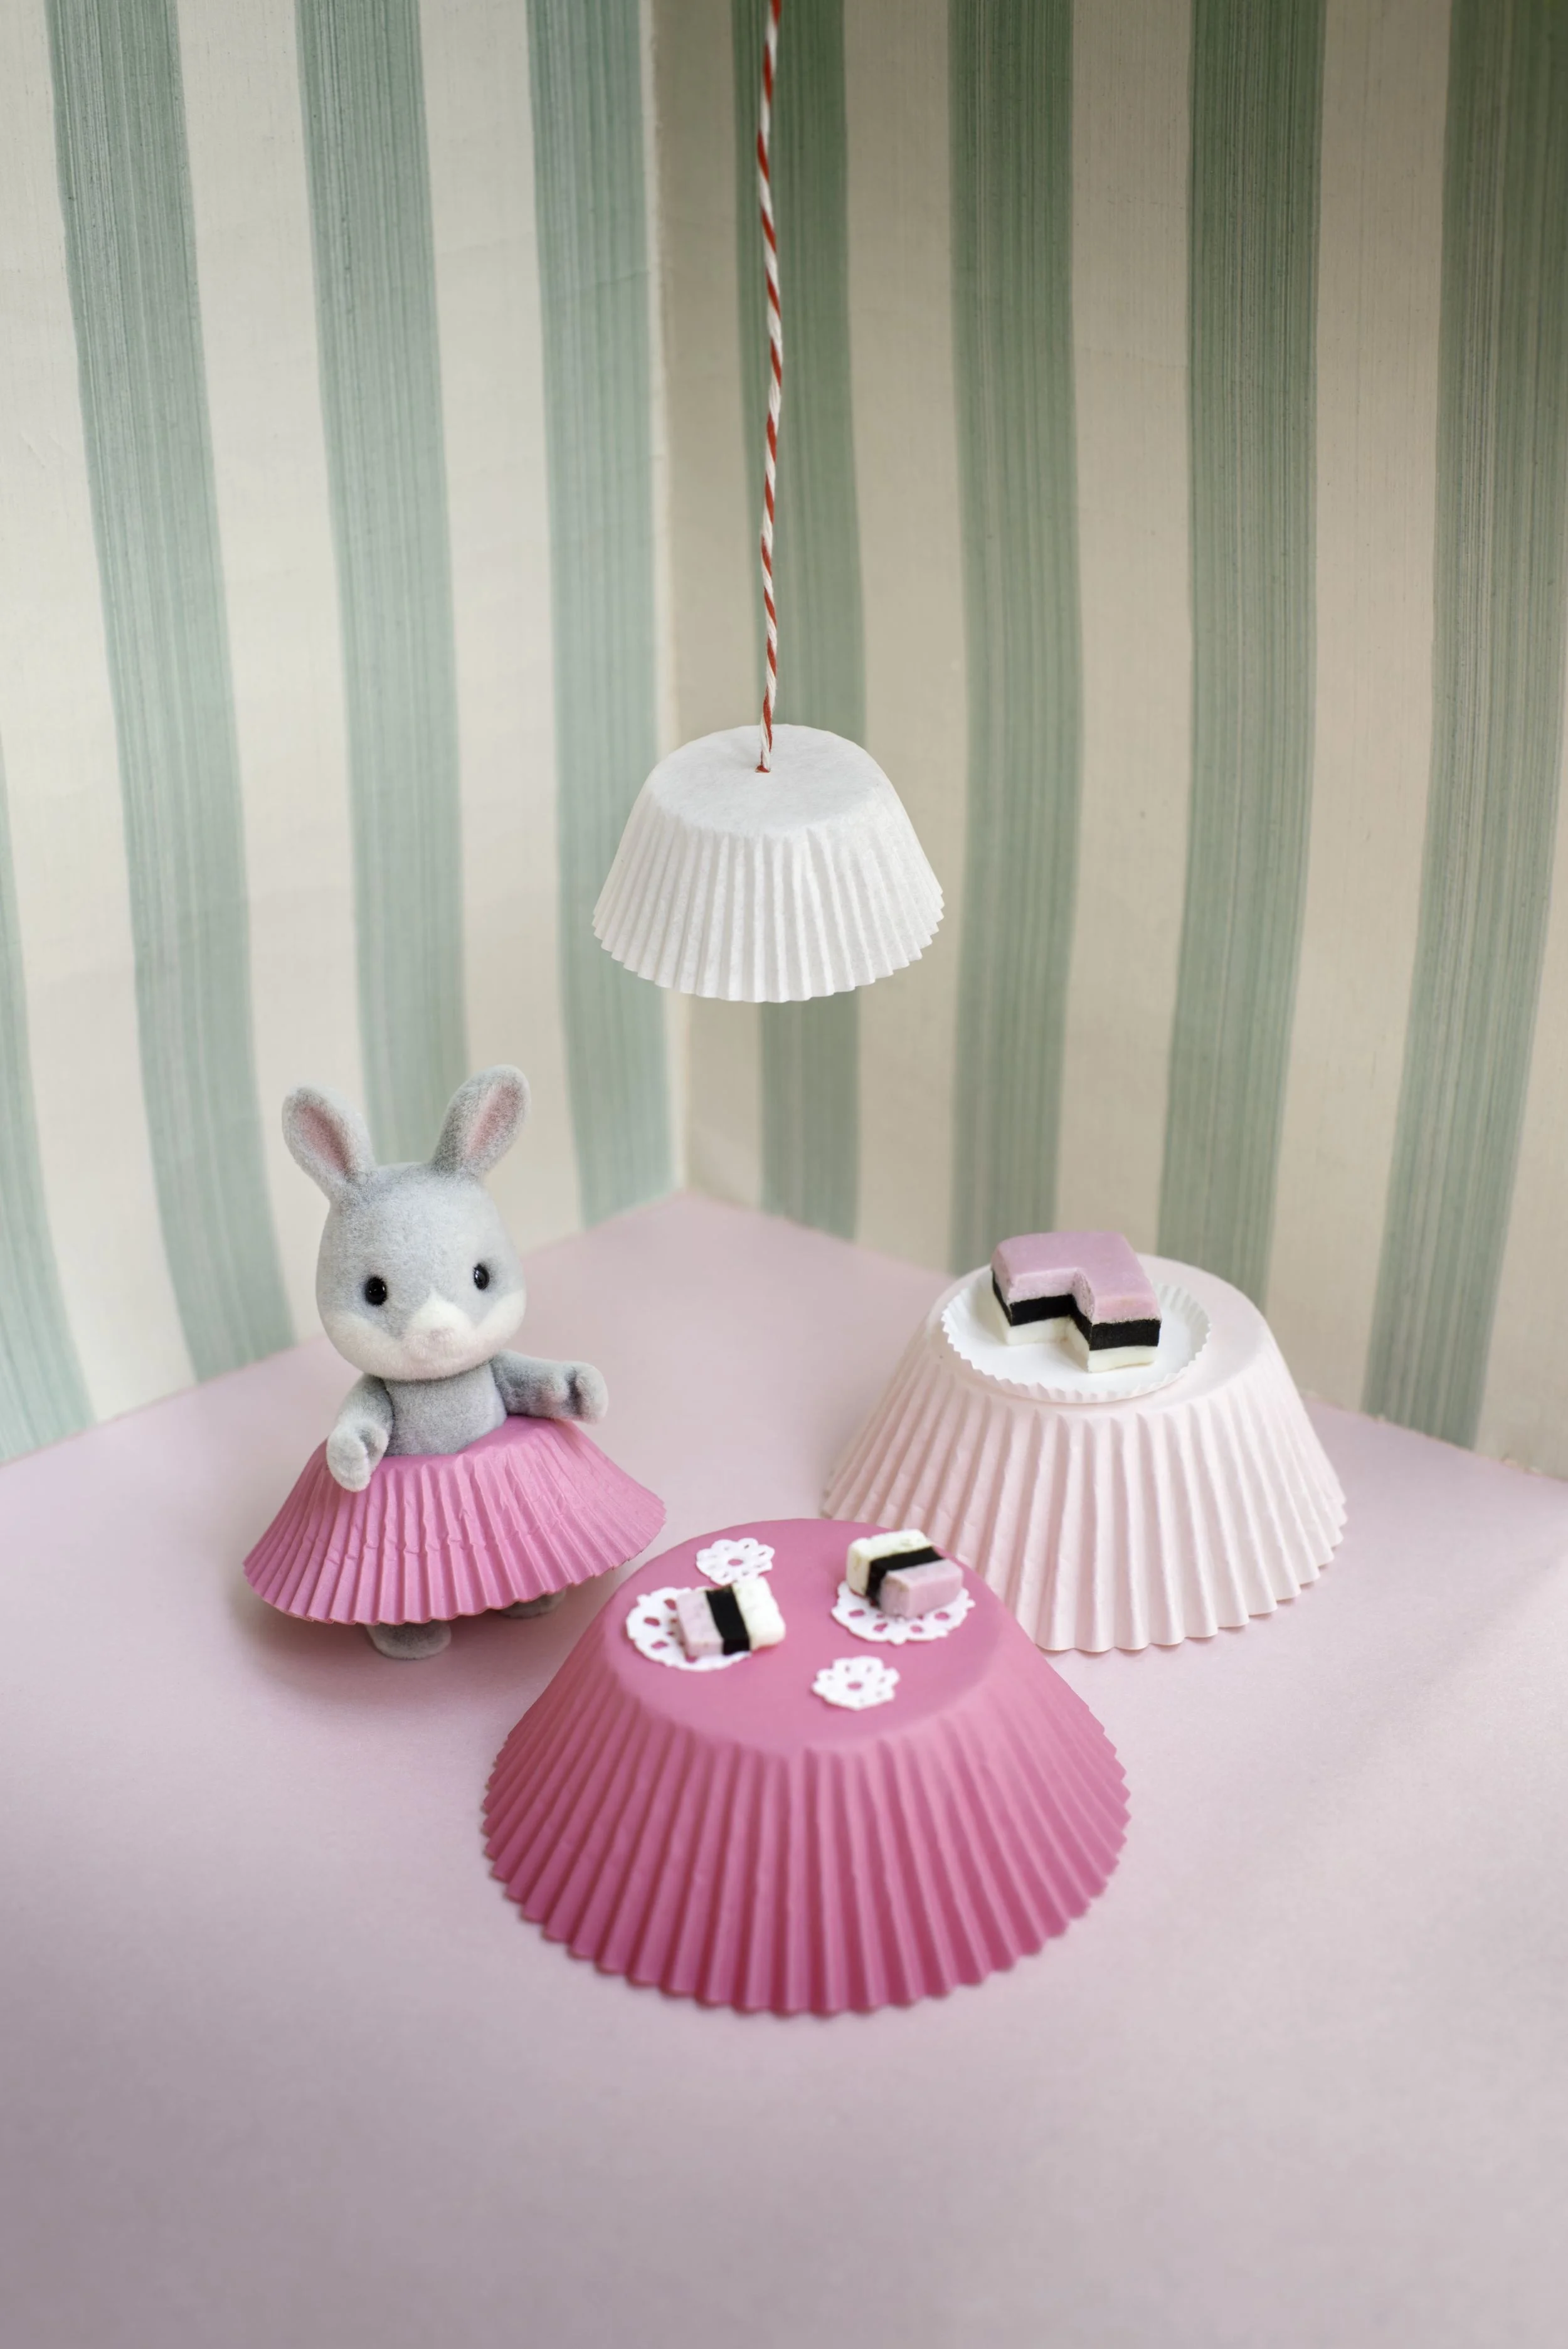
4. Mom’s Skirt" Cut out the center of a regular cupcake paper so you are left with a ruffled strip. Wrap it around the mom’s waist and adhere it with an adhesive dot at back.
5. Dad’s Collar: Cut a circle out of the center of a mini cupcake paper and fit it around the dad’s neck. Trim off the ribbed edge leaving 2 triangles that look like a “bib” front.
6. Curtains: Cut a 2” x 2 ½” piece of construction paper. Cut out the center of a regular cupcake paper so you are left with a ruffled strip. Cut the strip in half vertically and then trim it horizontally into thirds to get six 1 ¼” pieces. Glue 3 pieces together, as shown, and repeat with remaining 3 pieces to make a second curtain panel. Glue the tops of the curtains to the toothpick. Glue the toothpick to the short end ofthe blue paper and adhere the whole thing to the dollhouse wall with double-sided tape.
7. Cake on a Platter: Use a sharp knife (adults only) to cut a section out of a piece of licorice allsorts. Cut a mini cupcake paper down so there is only a tiny lip of the ruffly edge and use it as a "platter". Cut mini doilies out of a paper doily to use as plates.
8. Hanging Lamp Use a needle to pierce a hole in the center of a small cupcake paper and thread twine/string through the hole. Knot inside the cupcake paper so that it will hand upside down and hang from the dollhouse ceiling with an adhesive dot or small square of tape.
Check out our book, Paper Goods Projects, for lots more craft ideas using cupcake papers!