Halloween Cookie Houses
/
Gingerbread houses are fun to bake and build, but these little Halloween haunted houses, a variation of the Valentine cottages from my book, "Candy Aisle Crafts," are made from graham crackers, allowing you to skip the baking and get to the best part -- decorating! They make a spooky Halloween centerpiece or mantle decoration, too. For a great playdate or fall afternoon activity, premake the house bases, one for each kid, and set out bowls of candy for decorations.

BASIC HOUSE INSTRUCTIONS
Supplies (per house):
- 4 graham crackers, honey or chocolate
- Serrated knife
- Royal Icing (recipe follows)
- Piece of cardboard (at least 4" × 4"; optional)
- Small jar (like a spice jar)
- Assorted candies
1. To cut graham crackers, use a serrated knife and a very light sawing motion with almost no downward pressure. On one graham cracker, cut off some height (A), and then cut off the angles to form a peaked piece. Use the first peaked piece as a template for cutting a second peaked piece. Cut the remaining two graham crackers in half. Two will be used for the side walls and two for the roof.
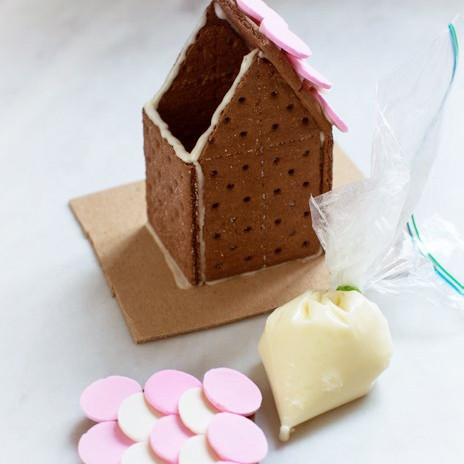
2. Pipe a thin line of icing on the bottom of one square wall (make sure that the graham cracker perforations are going in the same direction on the square walls and roof pieces), and stick it onto one side of the cardboard (or a paper plate). Use a small jar (like a spice bottle) to hold up this first wall (B). Glue one of the peaked pieces to the square wall piece by piping a thin line of icing along the bottom and the side edge of the peaked piece. Attach the peaked piece just inside the back of the square wall. Repeat with the other peaked piece to attach to the other side of the square side wall. (Remove the jar when set.) Pipe a thin line of icing on the remaining side edges of both peaked pieces. Pipe a thin line of icing on the bottom of the last square wall. Attach the wall to the two peaked pieces.
3. Decorate the roof. Pipe a line of icing along the bottom edge of one of the roof crackers. Adhere a row of bottom “tiles” first -- think Necco Wafers or sticks of chewing gum. Pipe another line above that row of tiles and let those candies overlap the first row (C). Repeat until the roof is covered. Repeat the process to make a second roof piece. Let dry for about 30 minutes.
4. Attach the roof by piping icing along the top edges of the wall and peaked pieces and setting the roof pieces on top (D). Cover the top seam by gluing on additional candy with icing, if desired.
5. With the icing, glue on the door, attic window, and other embellishments.
ROYAL ICING
Supplies
- Electric mixer fitted with a paddle attachment (optional)
- 1 pound (1 box) confectioners’ sugar
- 5 tablespoons meringue powder, plus more if needed
- 7 tablespoons water, plus more as needed
- Sandwich-size resealable plastic bag, for piping
- Small juice glass
- Rubber band (for piping bag)
- Scissors
1. In the bowl of an electric mixer fitted with the paddle attachment, or by hand, mix the sugar, meringue powder, and water until smooth.
2. If the icing is too thin, add meringue powder one teaspoon at a time until thickened. If it’s too thick, add water. The consistency should be slightly looser than toothpaste.
3. To make a piping bag, put one corner of the resealable plastic bag in a small juice glass. Pull the rest of the bag over the sides of the glass. Fill the bag with about a cup of Royal Icing. Twist the bag closed in your hands, tightly cinch it with the rubber band, and seal the bag closed. Cut the tiniest hole (less than 1/3") off the corner of the bag with scissors. Squeeze out some icing to see if the hole is big enough.
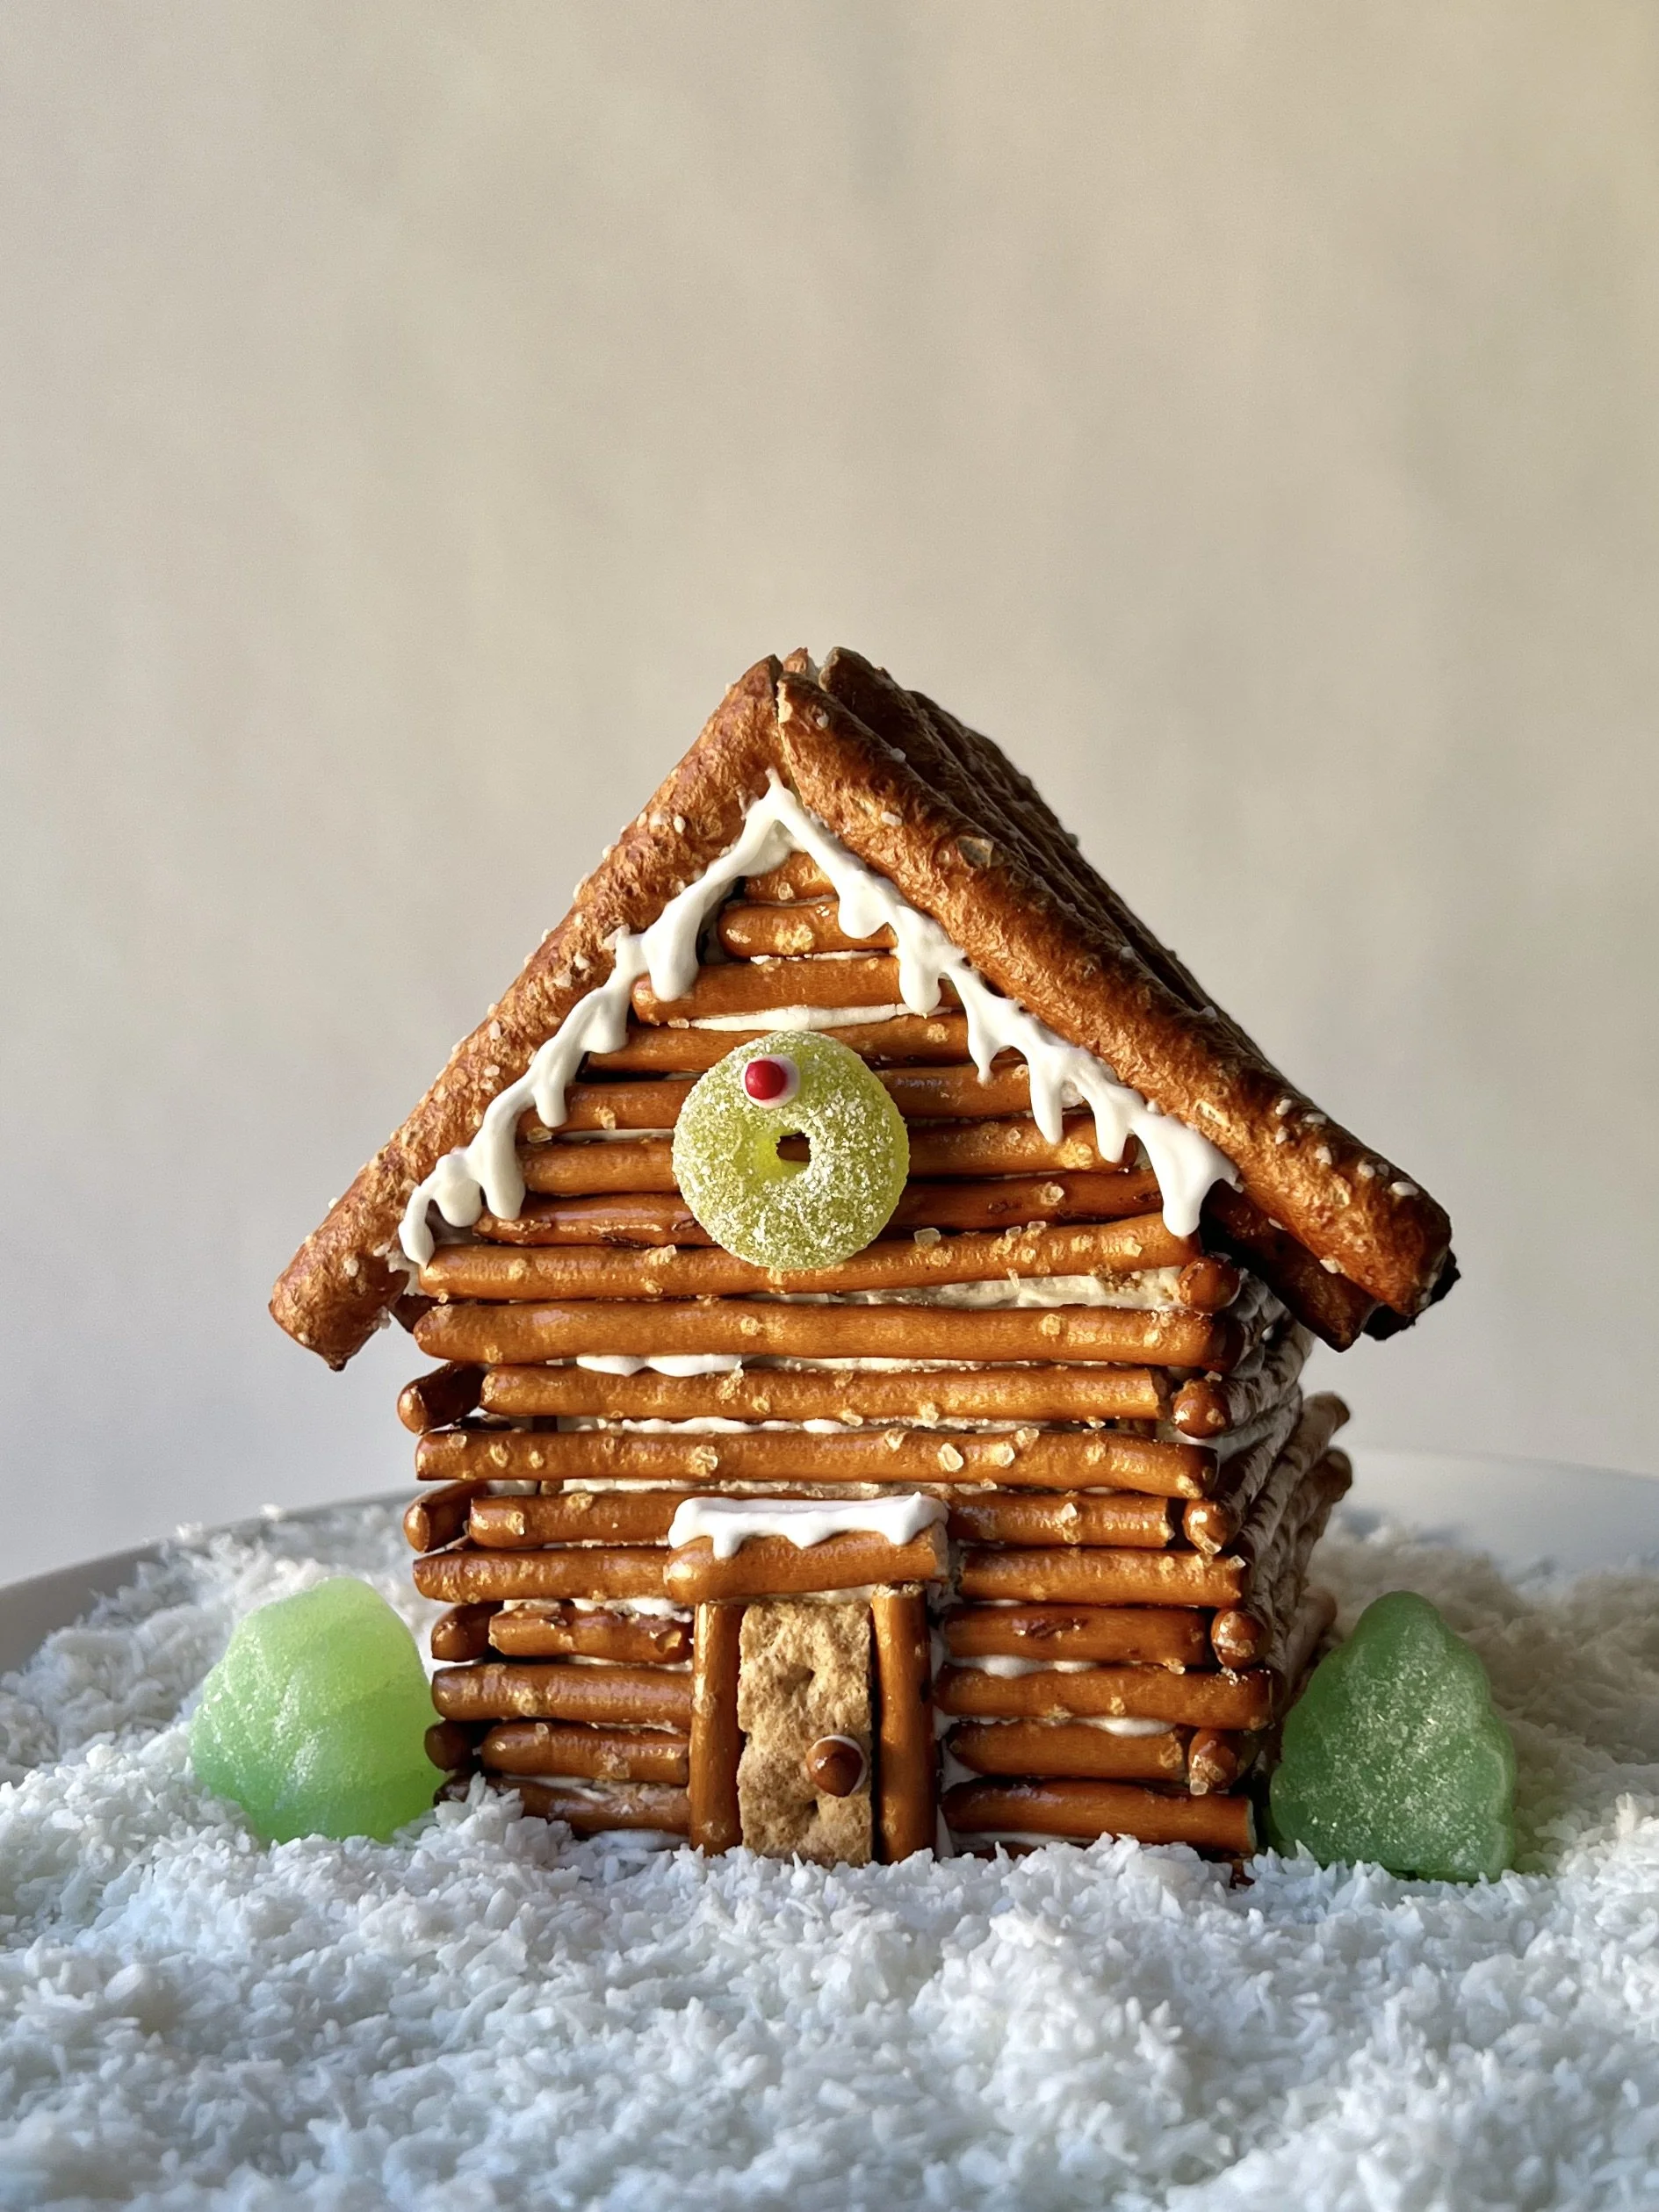
Try decorating these little cottages for any holiday or occasion.